How to Patch Test New Skincare Products for Sensitive Skin
How to Patch Test New Skincare Products (Especially for Sensitive Skin)
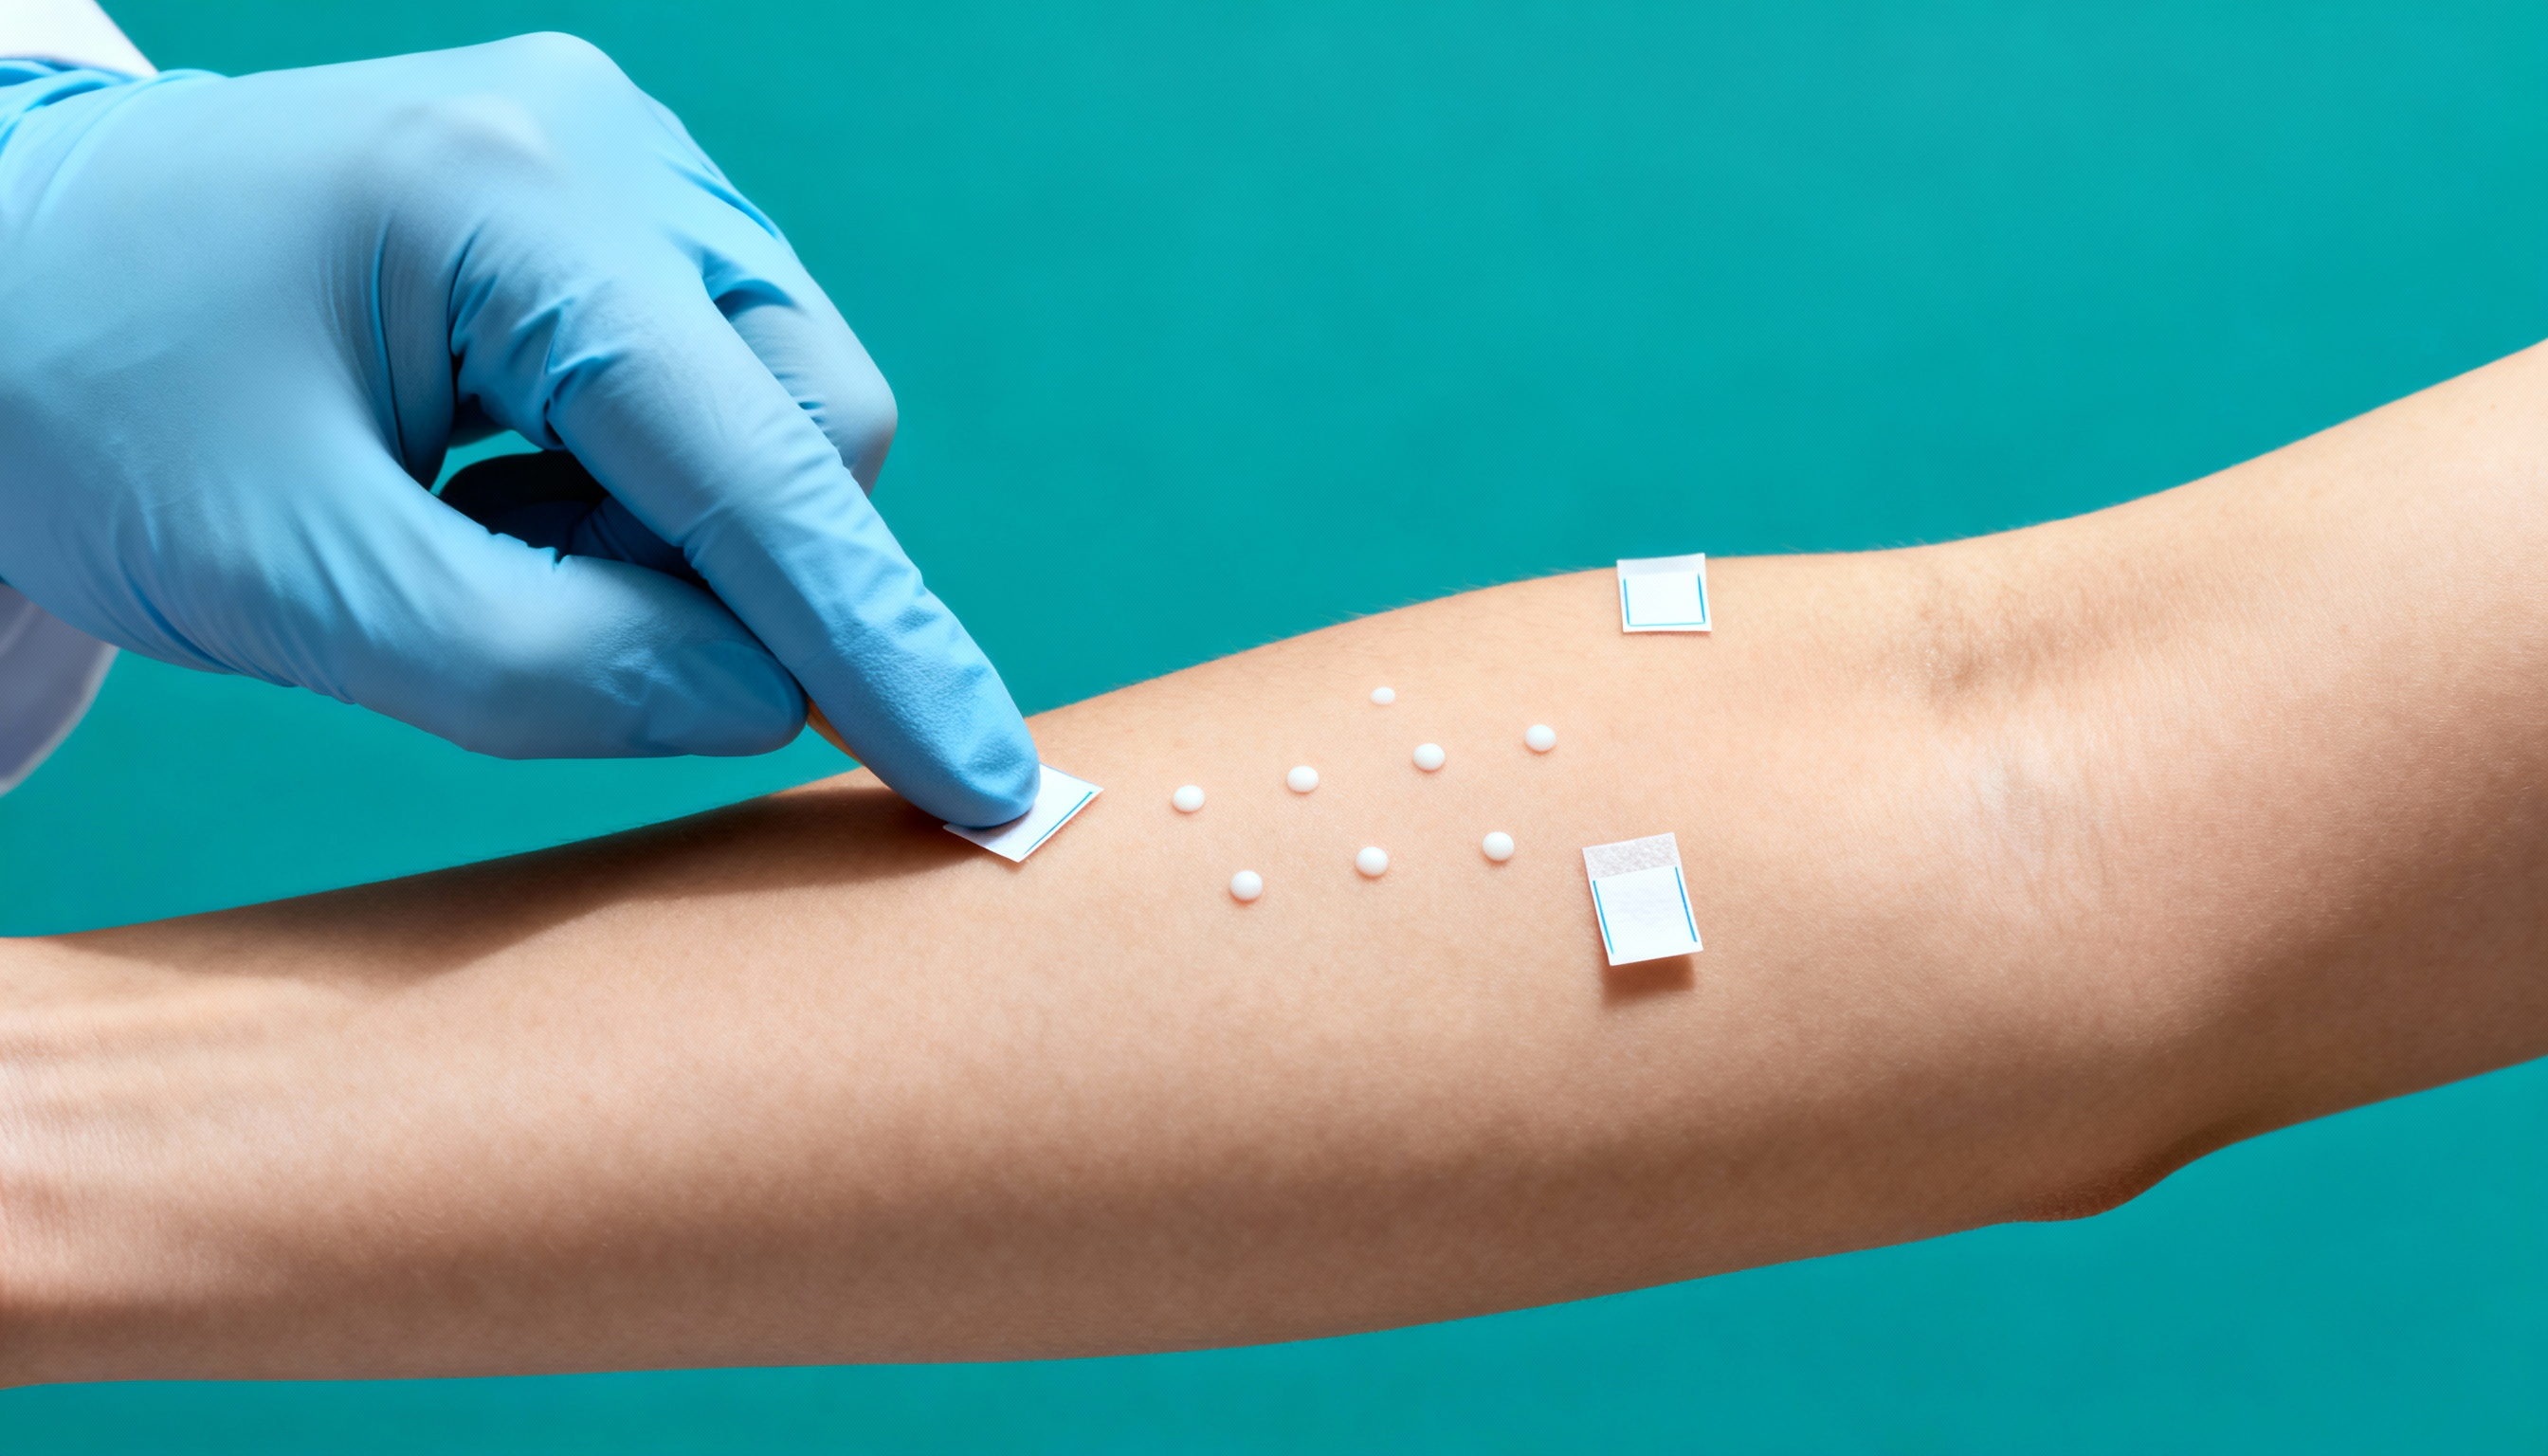
If you have sensitive skin, adding new skincare products can feel stressful. Will it sting? Will it burn? Will it trigger redness or breakouts? The good news is that a simple patch test can prevent most irritation before it ever happens.
In this guide, we’ll walk you through exactly how to patch test skincare properly, what reactions to look for, how long to wait, and when it’s safe to start using a new product on your entire face or body.
This article is part of our Sensitive Skin Education Series and pairs with our core guide: Sensitive Skin Care Routines under Skin School → Solutions → Sensitive Skin.
If you think your barrier may already be irritated, start with our guide: 5 Signs Your Skin Barrier Is Damaged (and How to Fix It Gently) .
Why Patch Testing Matters for Sensitive Skin
Many reactions don’t happen immediately—they develop hours after application. Patch testing helps you identify:
- Allergic reactions
- Ingredient sensitivities
- Barrier irritation
- Delayed redness or stinging
- Breakouts or clogged pores
Patch testing is especially important for products with active ingredients, botanical oils, or exfoliants—even gentle ones.
Where to Patch Test New Skincare Products
Choose an area with thinner skin that reacts similarly to the face, such as:
- Just behind the ear
- Along the jawline
- Side of the neck
- Inside of the forearm (for body products)
Avoid patch testing on broken or already irritated skin—this may exaggerate reactions unnecessarily.
How to Patch Test (Step-by-Step)
Step 1: Apply a Small Amount
Use a pea-sized amount of the new product and apply it to the chosen patch test area.
Step 2: Leave the Area Undisturbed
Do not rub, wash, or apply other products on top of the test area during the testing window.
Step 3: Monitor for 24 Hours
Most reactions occur within minutes to a few hours, but delayed irritation can take up to 24 hours. Watch for any of these signs:
- Redness or flushing
- Burning, stinging, or itching
- Hives or raised bumps
- Dry, rough, or peeling skin
- Inflammation or swelling
Step 4: If No Reaction Occurs, Proceed Slowly
If your patch test area stays calm, begin using the product on a small area of your face or body every other day for the first week. Gradual introduction prevents overwhelming your barrier and makes it easier to spot subtle irritation.
When You Should NOT Use the Product
If the patch test shows any of the following, discontinue use:
- Burning or stinging that worsens over time
- Severe redness or swelling
- Hives or rash
- Peeling or raw-feeling skin
These symptoms often indicate sensitivity or allergy to a specific ingredient. If your reaction was significant or painful, it’s best to consult a dermatologist before trying the product again.
Tips for Patch Testing Different Types of Products
Cleansers
Apply a small amount to the test area, let it sit for about 60 seconds, then rinse with lukewarm water. Monitor the area throughout the day for any tightness, redness, or itching.
Serums
Serums often contain active ingredients and penetrate more deeply. Apply a thin layer to the patch area, let it dry fully, and observe for 24 hours for delayed reactions.
Moisturizers & Body Butters
Leave the moisturizer on the skin without washing the test area. Watch for slow-developing irritation, especially if the formula contains essential oils or actives.
Body Oils
Apply a small amount to the inside of the forearm and leave for 24 hours. Oils with botanical extracts can cause reactions in very sensitive skin, so this step is important.
How Glimmer Goddess® Makes Patch Testing Easier
Our products feature vegan, organic, sensitive-skin-conscious ingredients designed to minimize irritation and support your skin barrier. Many customers with eczema, rosacea, and easily reactive skin prefer:
- Fragrance-free formulas
- Sulfate-free cleansers
- Gentle, plant-based oils
- Options with low or no essential oils
If you’re unsure which product to try first, start with a gentle moisturizer or body butter, patch test it, and introduce it slowly into your routine.
FAQ: How to Patch Test New Skincare
How to patch test new skincare?
Apply a small amount of the product behind your ear or along your jawline and leave it on for 24 hours. Do not layer other products over the test area. If there is no redness, stinging, or bumps, you can slowly start using it on a larger area.
How to patch test for sensitive skin?
If you have sensitive skin, patch test one product at a time on a small area such as behind the ear or on the neck. Wait a full 24 hours and watch for burning, itching, or delayed redness. Introduce it into your routine gradually instead of all at once.
Where to test a new skincare product?
For face products, the best places to test are behind the ear, along the jawline, or on the side of the neck. For body products, patch test on the inner forearm. These areas are discreet but react similarly to your main application areas.
How do I test if I have sensitive skin?
You can test for sensitivity by patch testing gentle, fragrance-free products and seeing whether they still cause stinging, redness, or itching. If your skin often reacts even to mild formulas, you likely have sensitive or reactive skin and may benefit from a simplified, barrier-supportive routine.
References
- American Academy of Dermatology — Patch testing and skin allergy guidance.
- Cleveland Clinic — Identifying allergic and irritant reactions.
- DermNet — Patch testing procedures and sensitive skin considerations.
- Journal of Dermatology — Research on irritant vs. allergic skin responses.
- PubMed — Studies on barrier sensitivity and testing methods.


%0AIf%20you%20have%20sensitive%20skin,%20adding%20new%20skincare%20products%20can%20feel%20stressful.%20Will%20it%20sting?%20Will%20it%20burn?%20Will%20it%20trigger%20re...)